Learn how to get started in HERBALISM for Free- Starting with the WEEDS in your lawn!
Do you secretly wish to be able to treat your family’s minor ailments more naturally? Wondering how to get started in Herbalism? Are you fascinated by old-fashioned values and lost ways? Are you looking for an inexpensive new hobby or some “good clean fun” and excuses to get outside? Then you’re not alone, and you’re in good company!
Here, in 5 EASY STEPS – I’ll teach you how simple, fun, and inexpensive it can be to get started on your own home Apothecary using stuff you already have, plus the “weeds” & flowers in your yard or neighborhood! Taking this inexpensive, hands-on approach will prove to be a fulfilling, wholesome activity that you can enjoy on your own or with friends and family. And it will HELP you LEARN faster and in a more personally meaningful way!
What is an Apothecary?
Merriam Webster Dictionary online defines Apothecary two ways. First, as a person: “One who prepares and sells drugs or compounds for medicinal purpose.” Secondly, as a place. A pharmacy: “a place where medicines are compounded or dispensed.”
Most everyone has some sort of medicine cabinet at home. We are accustomed to self-treating with various prescribed and over-the-counter compounds for relief of pain, allergies, stomach issues, cough, cuts, burns, and other skin ailments. Tylenol, Benedryl, Pepto-Bismol, Robitussin, and Neosporin are just a few common products that come to mind.
But have you ever considered the origins of those products and where they came from? Why, PLANTS of course! You don’t have to go back too far in history to see plants and herbs being used by professionals and housewives alike to treat common ailments. Modern science has simply learned to identify the active chemical components, isolate them, recreate them synthetically, and patent them for consistency and profit.
WHY might you want to create a home Apothecary?
For me, it began in 2020 when there was a shortage of basic supplies at the grocery store (like toilet paper) and even onions and Vitamin C! A few years prior to COVID, I’d found myself interested in natural health and alternative medicines. So during the pandemic, when I couldn’t find my usual immune-boosting foods and supplements at the store, I turned to my yard (the only place one could go at the time!)
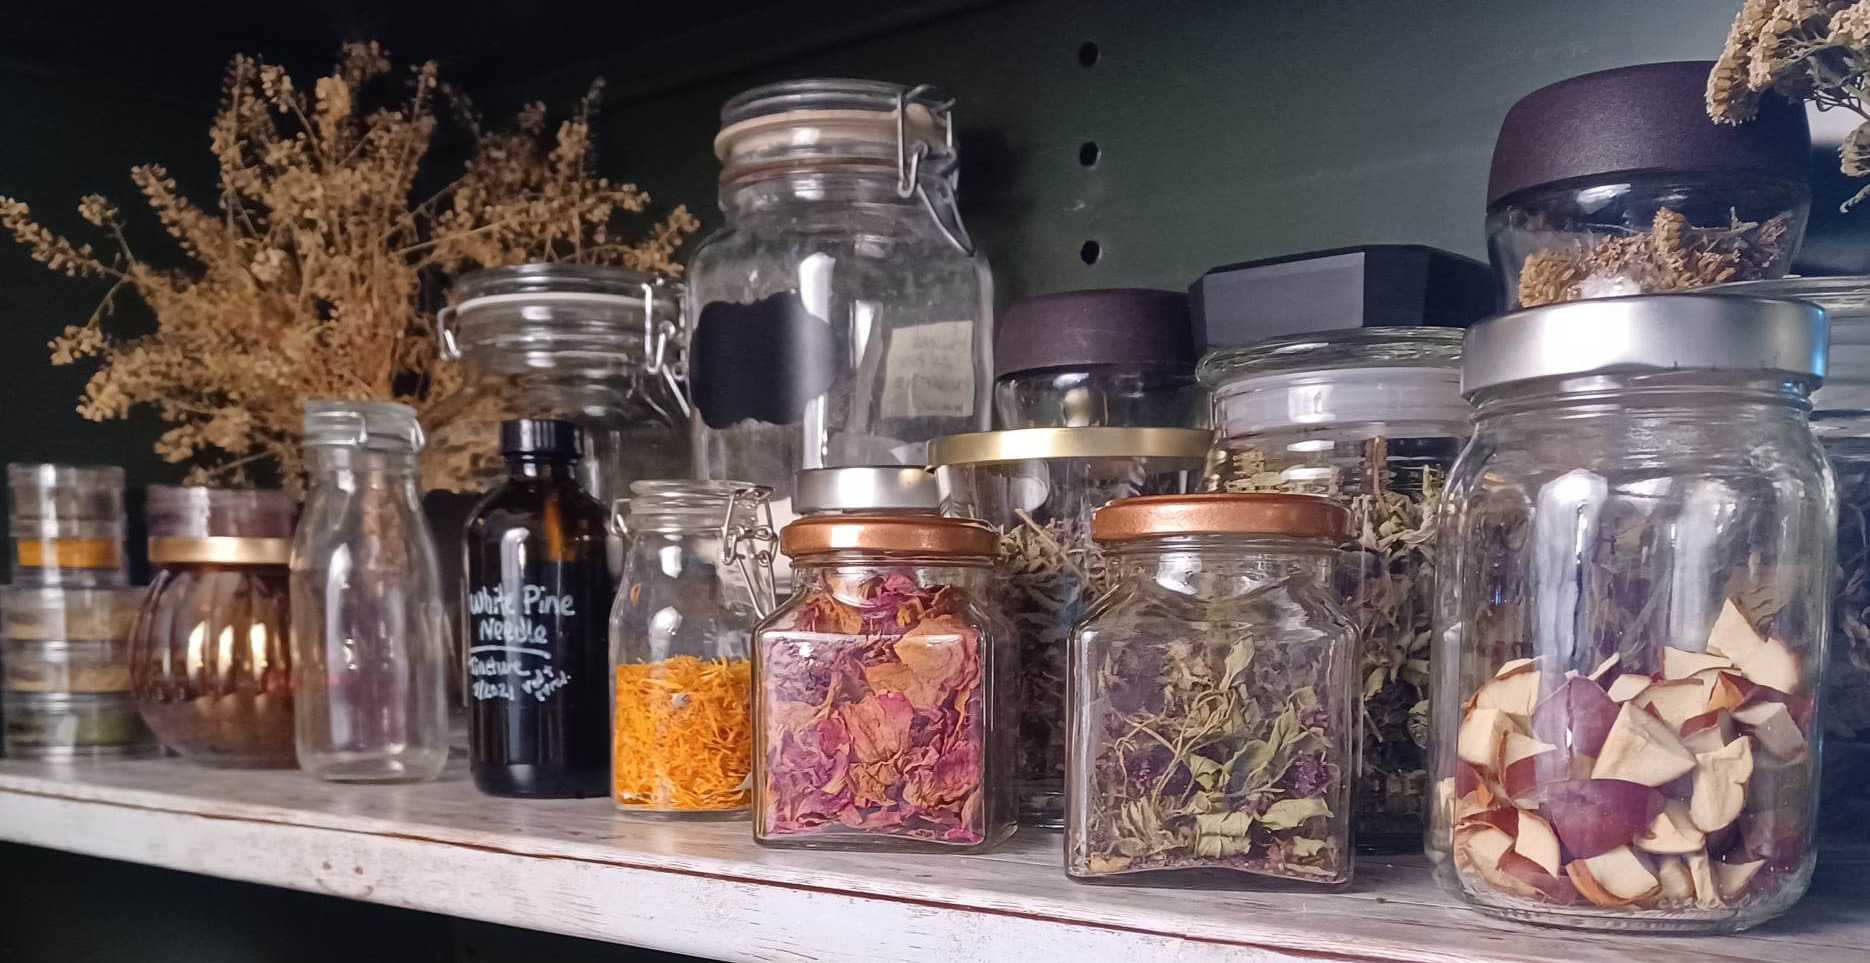
My “pandemic project” became identifying and collecting all of the medicinal WEEDS in my yard. The next thing I knew I’d built an entire apothecary on my hutch!
Inspiration from Outlander or Dr. Quinn Medicine Woman?
Back in Junior High, my favorite TV show was Dr. Quinn, Medicine Woman. Fast forward to 2020, I’d discovered a show called Outlander (based on the novels by Diana Gabaldon) with some similar themes plus a time-traveling twist! Heard of it? (Warning – there are some pretty un-wholesome, steamy and violent moments in there!) But I was captivated by the imagery of 1700’s Scotland and Claire’s gift for healing with plants.
In case you missed it – be sure to go and watch my first VIDEO discussing WHY you want to want to START your own home apothecary in the first place!
Looking to take a more NATURAL approach to your wellness?
You are not alone if you’ve ever considered taking your health and “medical care” into your own hands.
And just to be clear – I’m NO doctor. However, I have been studying and personally practicing herbalism and natural health on my own for almost 15 years. Due to my more recent activities in outdoor plant identification, collection, processing, preparing, and using my herbal creations, I’ve officially dubbed myself a “Backyard Herbalist”. . .
HOW to start building your Apothecary in 5 Basic Steps
So if you’ve come this far and would like to try collecting some herbs yourself for use at home, here’s where and how to begin! The true first step is just deciding to give it a try! Before I go further, please note that you certainly can buy prepared herbs (from reputable suppliers like Mountain Rose Herbs, etc.) and then store and use them in your apothecary. But for this article, I’m discussing a more hands-on approach in learning to forage for herbs on your own, for free. Not only is this approach the least expensive, but I find it the most empowering and rewarding!
In time, if this hobby/lifestyle “sticks,” you may wish to purchase more “exotic” or non-local herbs for your collection, especially depending on the ailments you may wish to treat. But I strongly advocate starting with what is most local to you, right under your feet, at no extra cost! So let’s get to our five steps!
1.) Get a few BOOKS on Herbalism
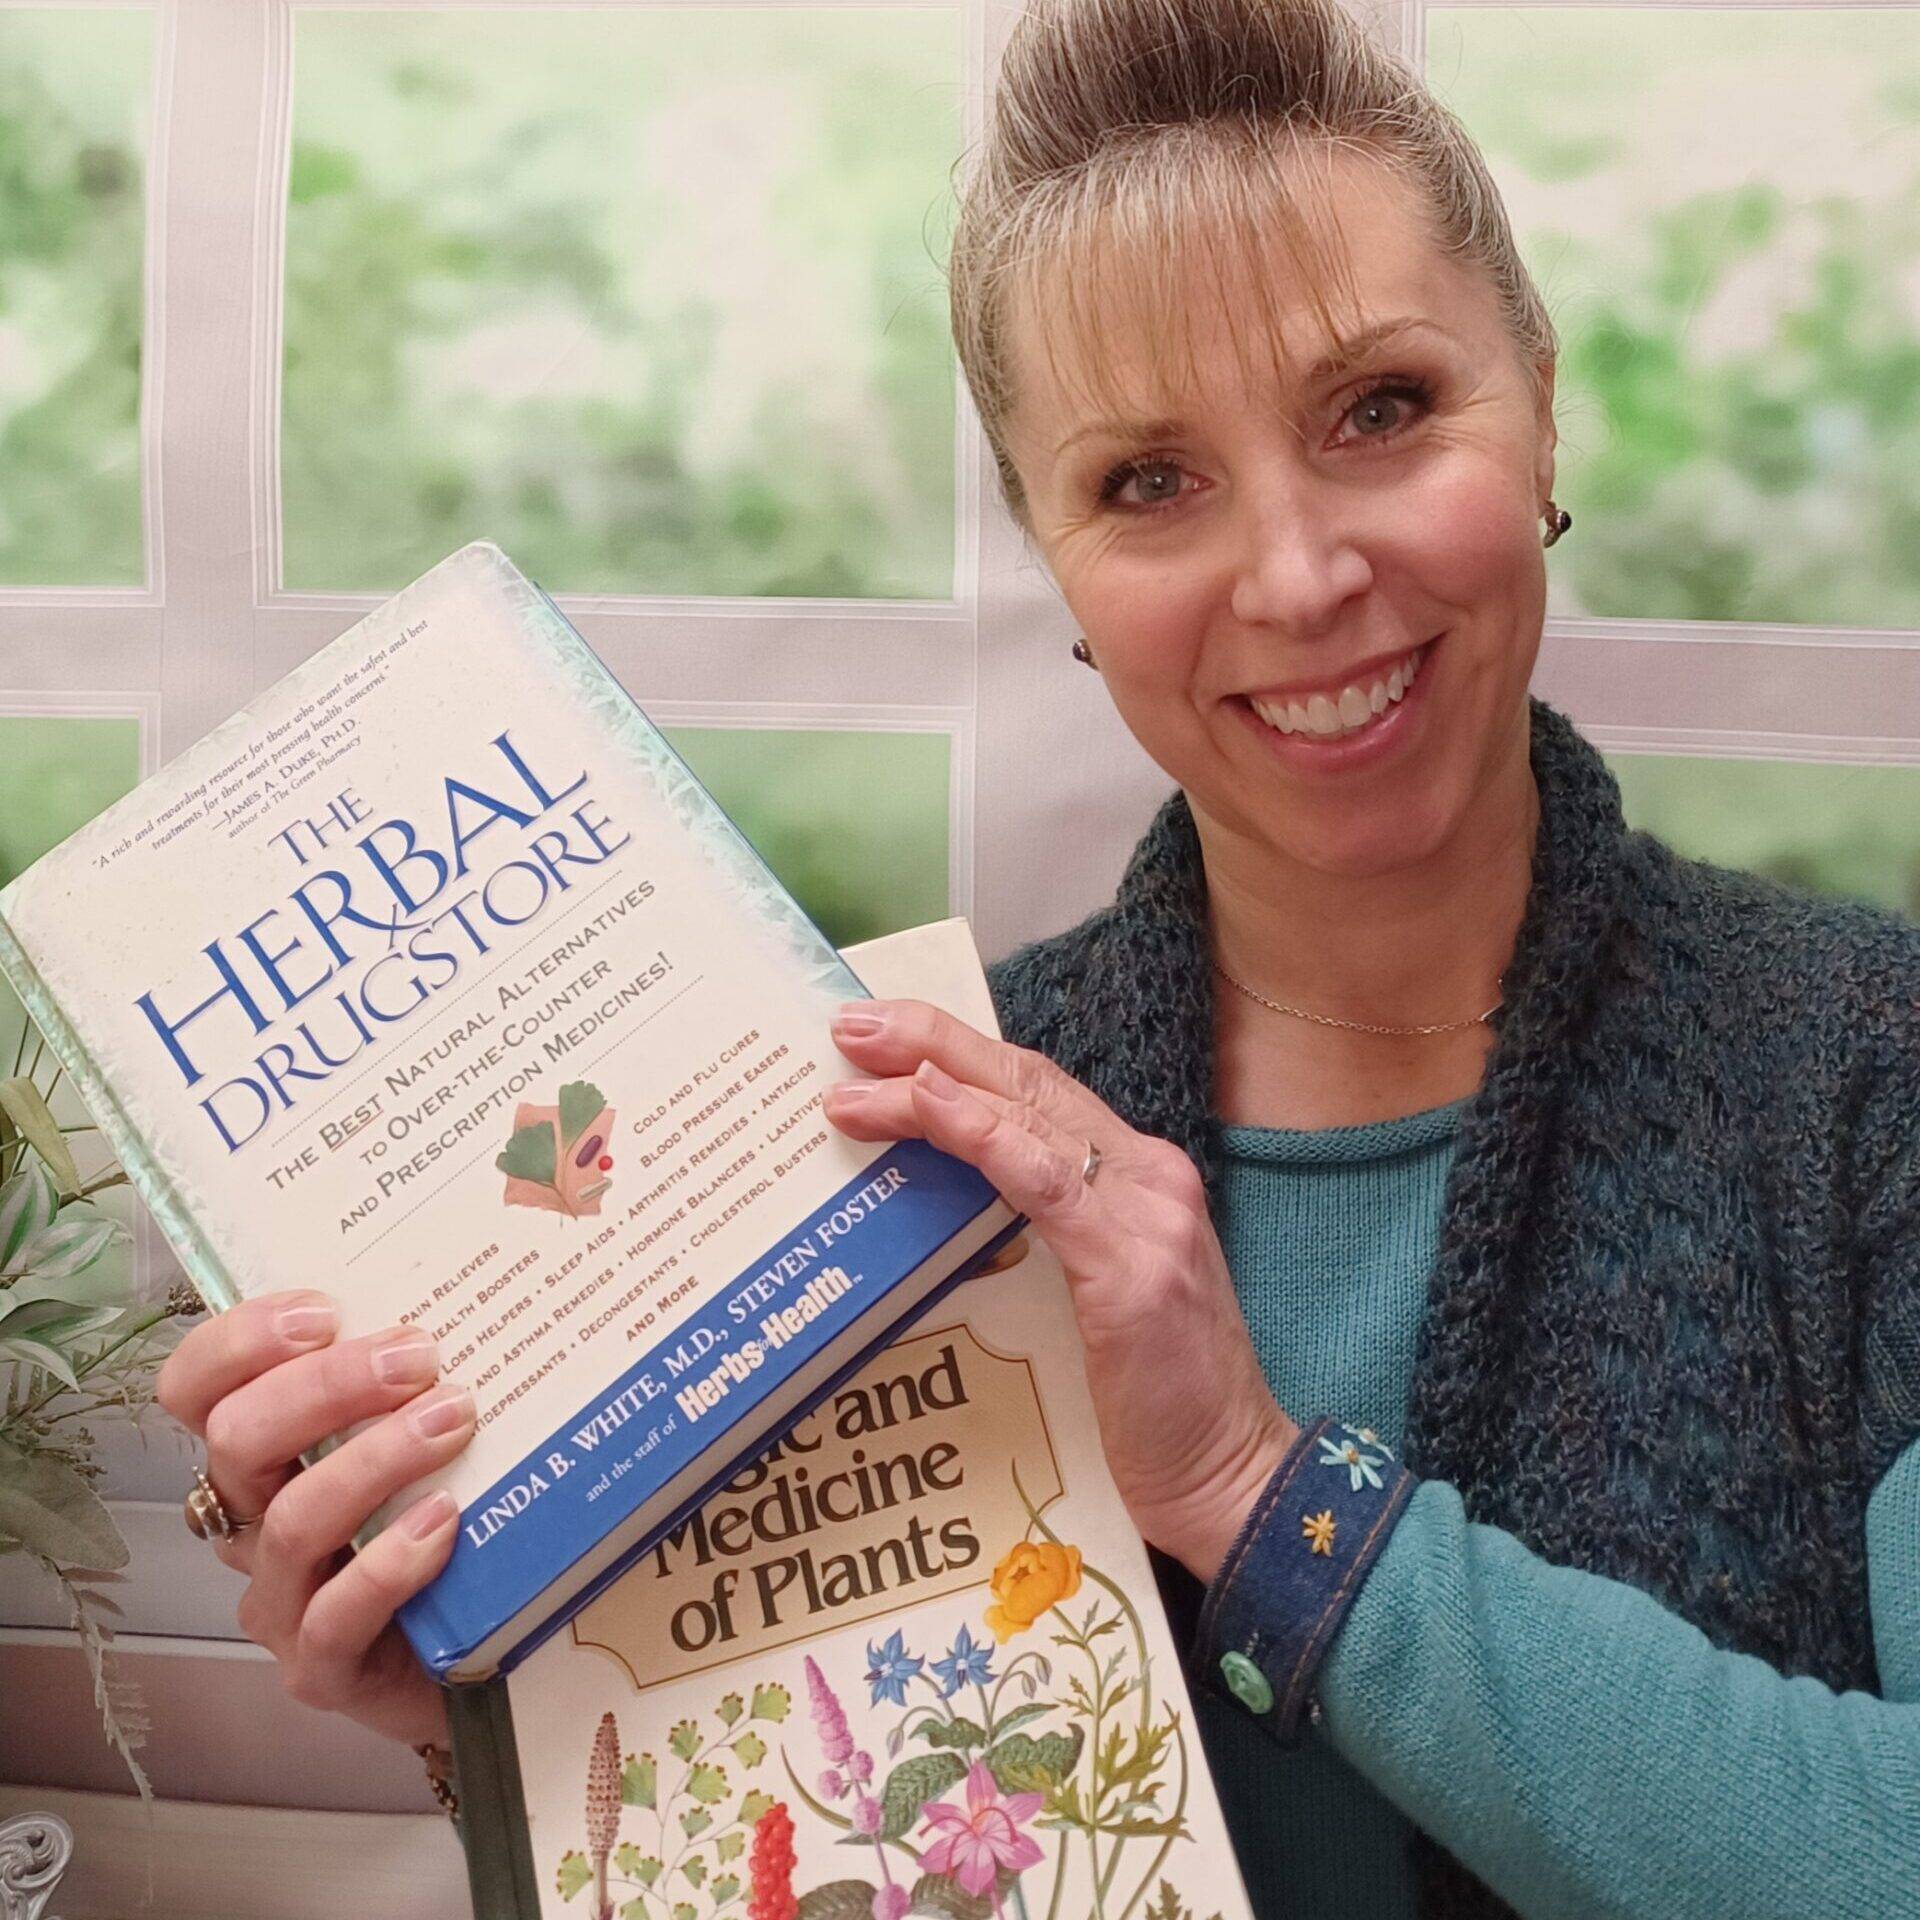
Sure, the internet is amazing, but there is no replacement for good, old-fashioned, hard-copy BOOKS! Besides, books feel a little more “old-timey” and get me in the mood. They’re also portable and don’t require WiFi or cell service when you go foraging in the deep woods or when the zombie apocalypse strikes!
Seek USED, discounted, and Free books
Because I preach thriftiness and low-waste living, I recommend you seek books that are used! My favorite are the FREE books being given away at your local Library! You might find great stuff on clearance at bookstores. And THRIFTBOOKS.com also has great titles available, both new and used, that you can easily search online.
Get Different Types of books
To cover all bases, you’ll want to get 3 types of books, or one book that has all three of these elements:
PLANT ILLUSTRATIONS: Get a book that shows pictures or drawings of plants, ideally in various stages of development. You want to see the whole plant, the leaf structures, flower details, roots, and in some cases the fruit or nuts. This will help you IDENTIFY the plants during different seasons as you come across them in the wild!
AILMENTS & REMEDIES: Similar to a doctor, you’ll want to get familiar with the terminology of the human body and its physical ailments. Find a book with a good summary and glossary of symptoms and herbs. Then you’ll learn what the constituents are in various plants and how they’ll apply to the ailments you’re seeking to treat.
HOW TO MAKE HERBAL PRODUCTS: This is the whole point, right? To collect plants and turn them into remedies we can use on and in our bodies. Find a book that describes and illustrates the various types of preparations (teas, tinctures, salves, poultices, etc.) and how to make them.
Just relax, read, and absorb the info in these books. No pressure….just let it sink in! You’re gears will turn and your eyes will magically develop the knack to spot these plant beauties next time you venture outside. Don’t get overwhelmed…you don’t have to make anything just yet!
2.) Get OUTSIDE!
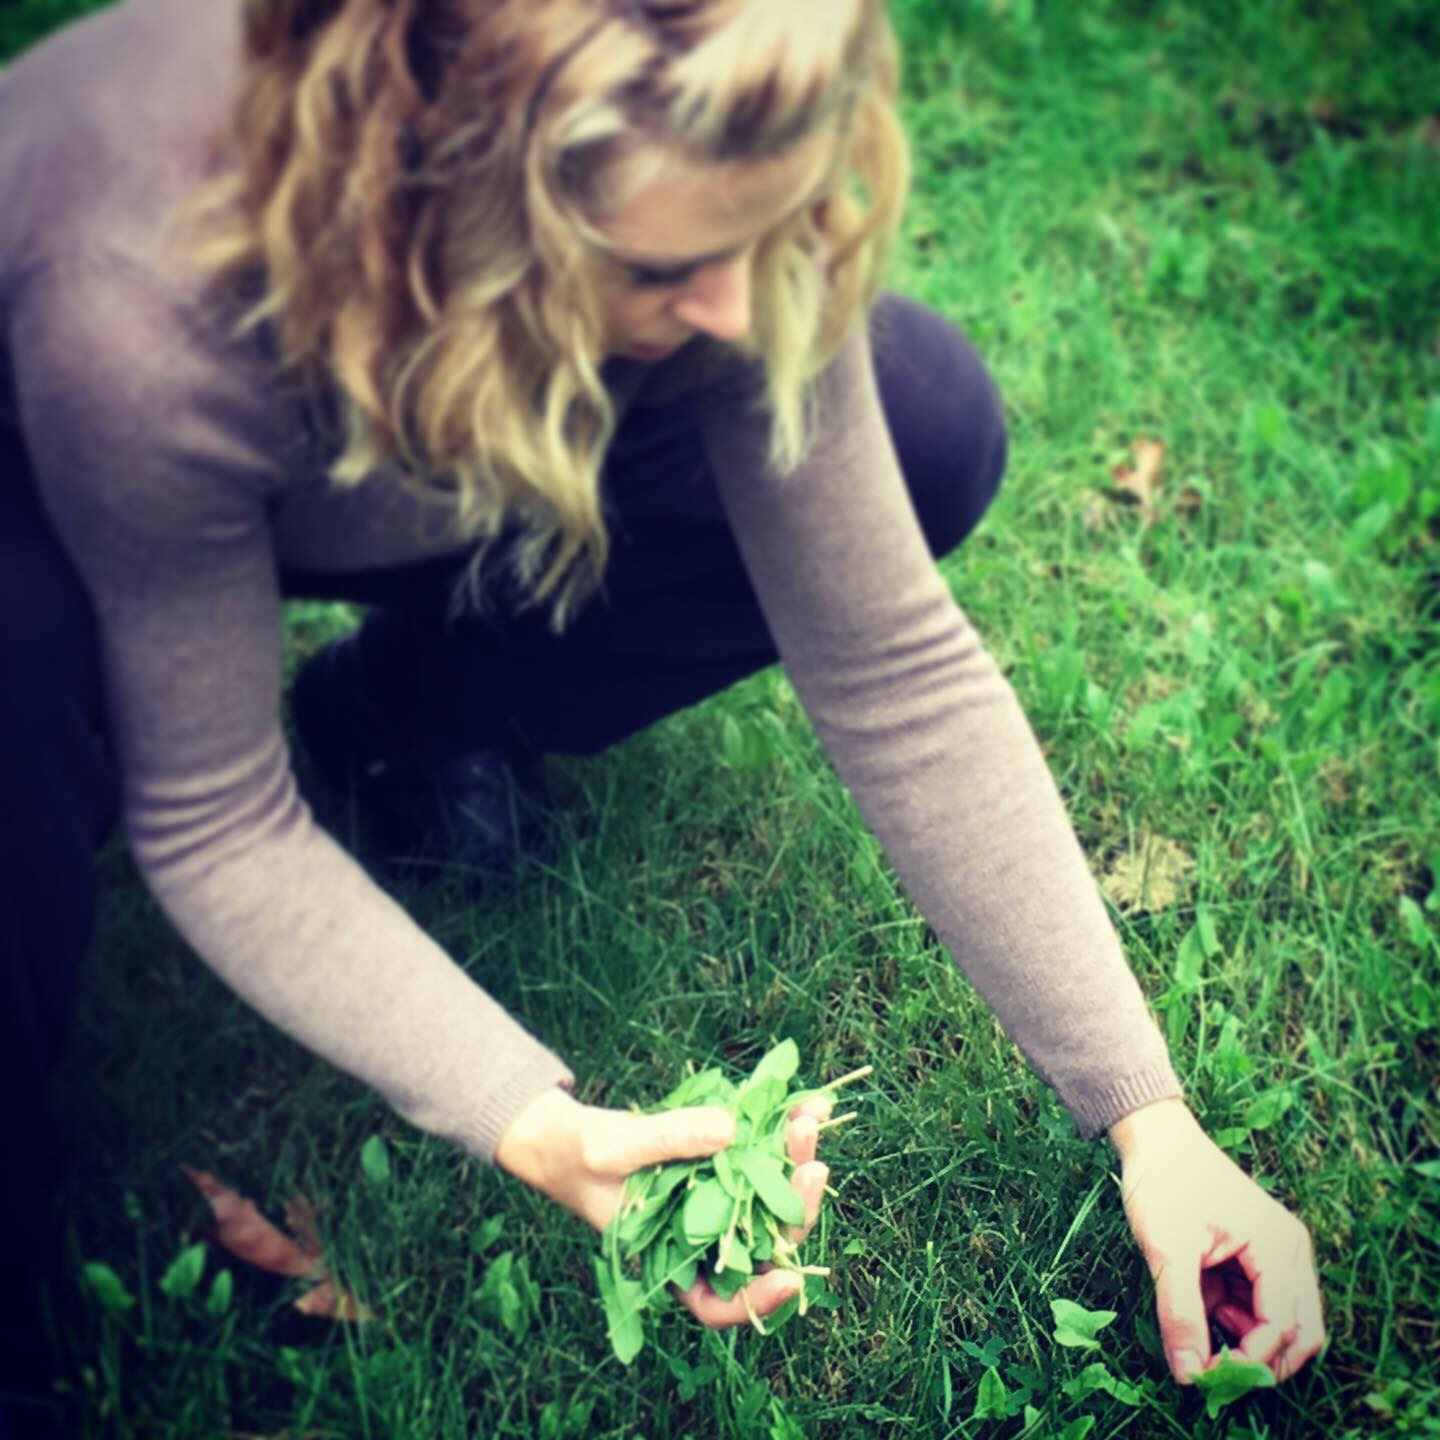
Yes, there are plenty of herbs and flowers you can grow on your windowsill. They totally “count!” But there’s something special that happens when you walk outside and start noticing all of the glorious plant critters all around you. Your backyard becomes a paradise. Sidewalks take on a whole new persona. Your local parks, fields, and forests will forevermore be filled with mystery and intrigue!
Just walk around and NOTICE things. That’s all! Bend down, take a look! Get accustomed to describing the different elements of the plant’s body. Shapes, colors, textures, smells. Differentiate between lookalikes and relatives.
Try a Plant Identifying app
The app I use on my phone is called PictureThis . I pay for an annual subscription, and it’s worth every penny! It also helps diagnose and give advice for treating plant ailments. This is no replacement for your books – but I use it get give me direction when I can’t identify a plant, especially when it’s very immature.

3.) DECIDE what plants you want to collect
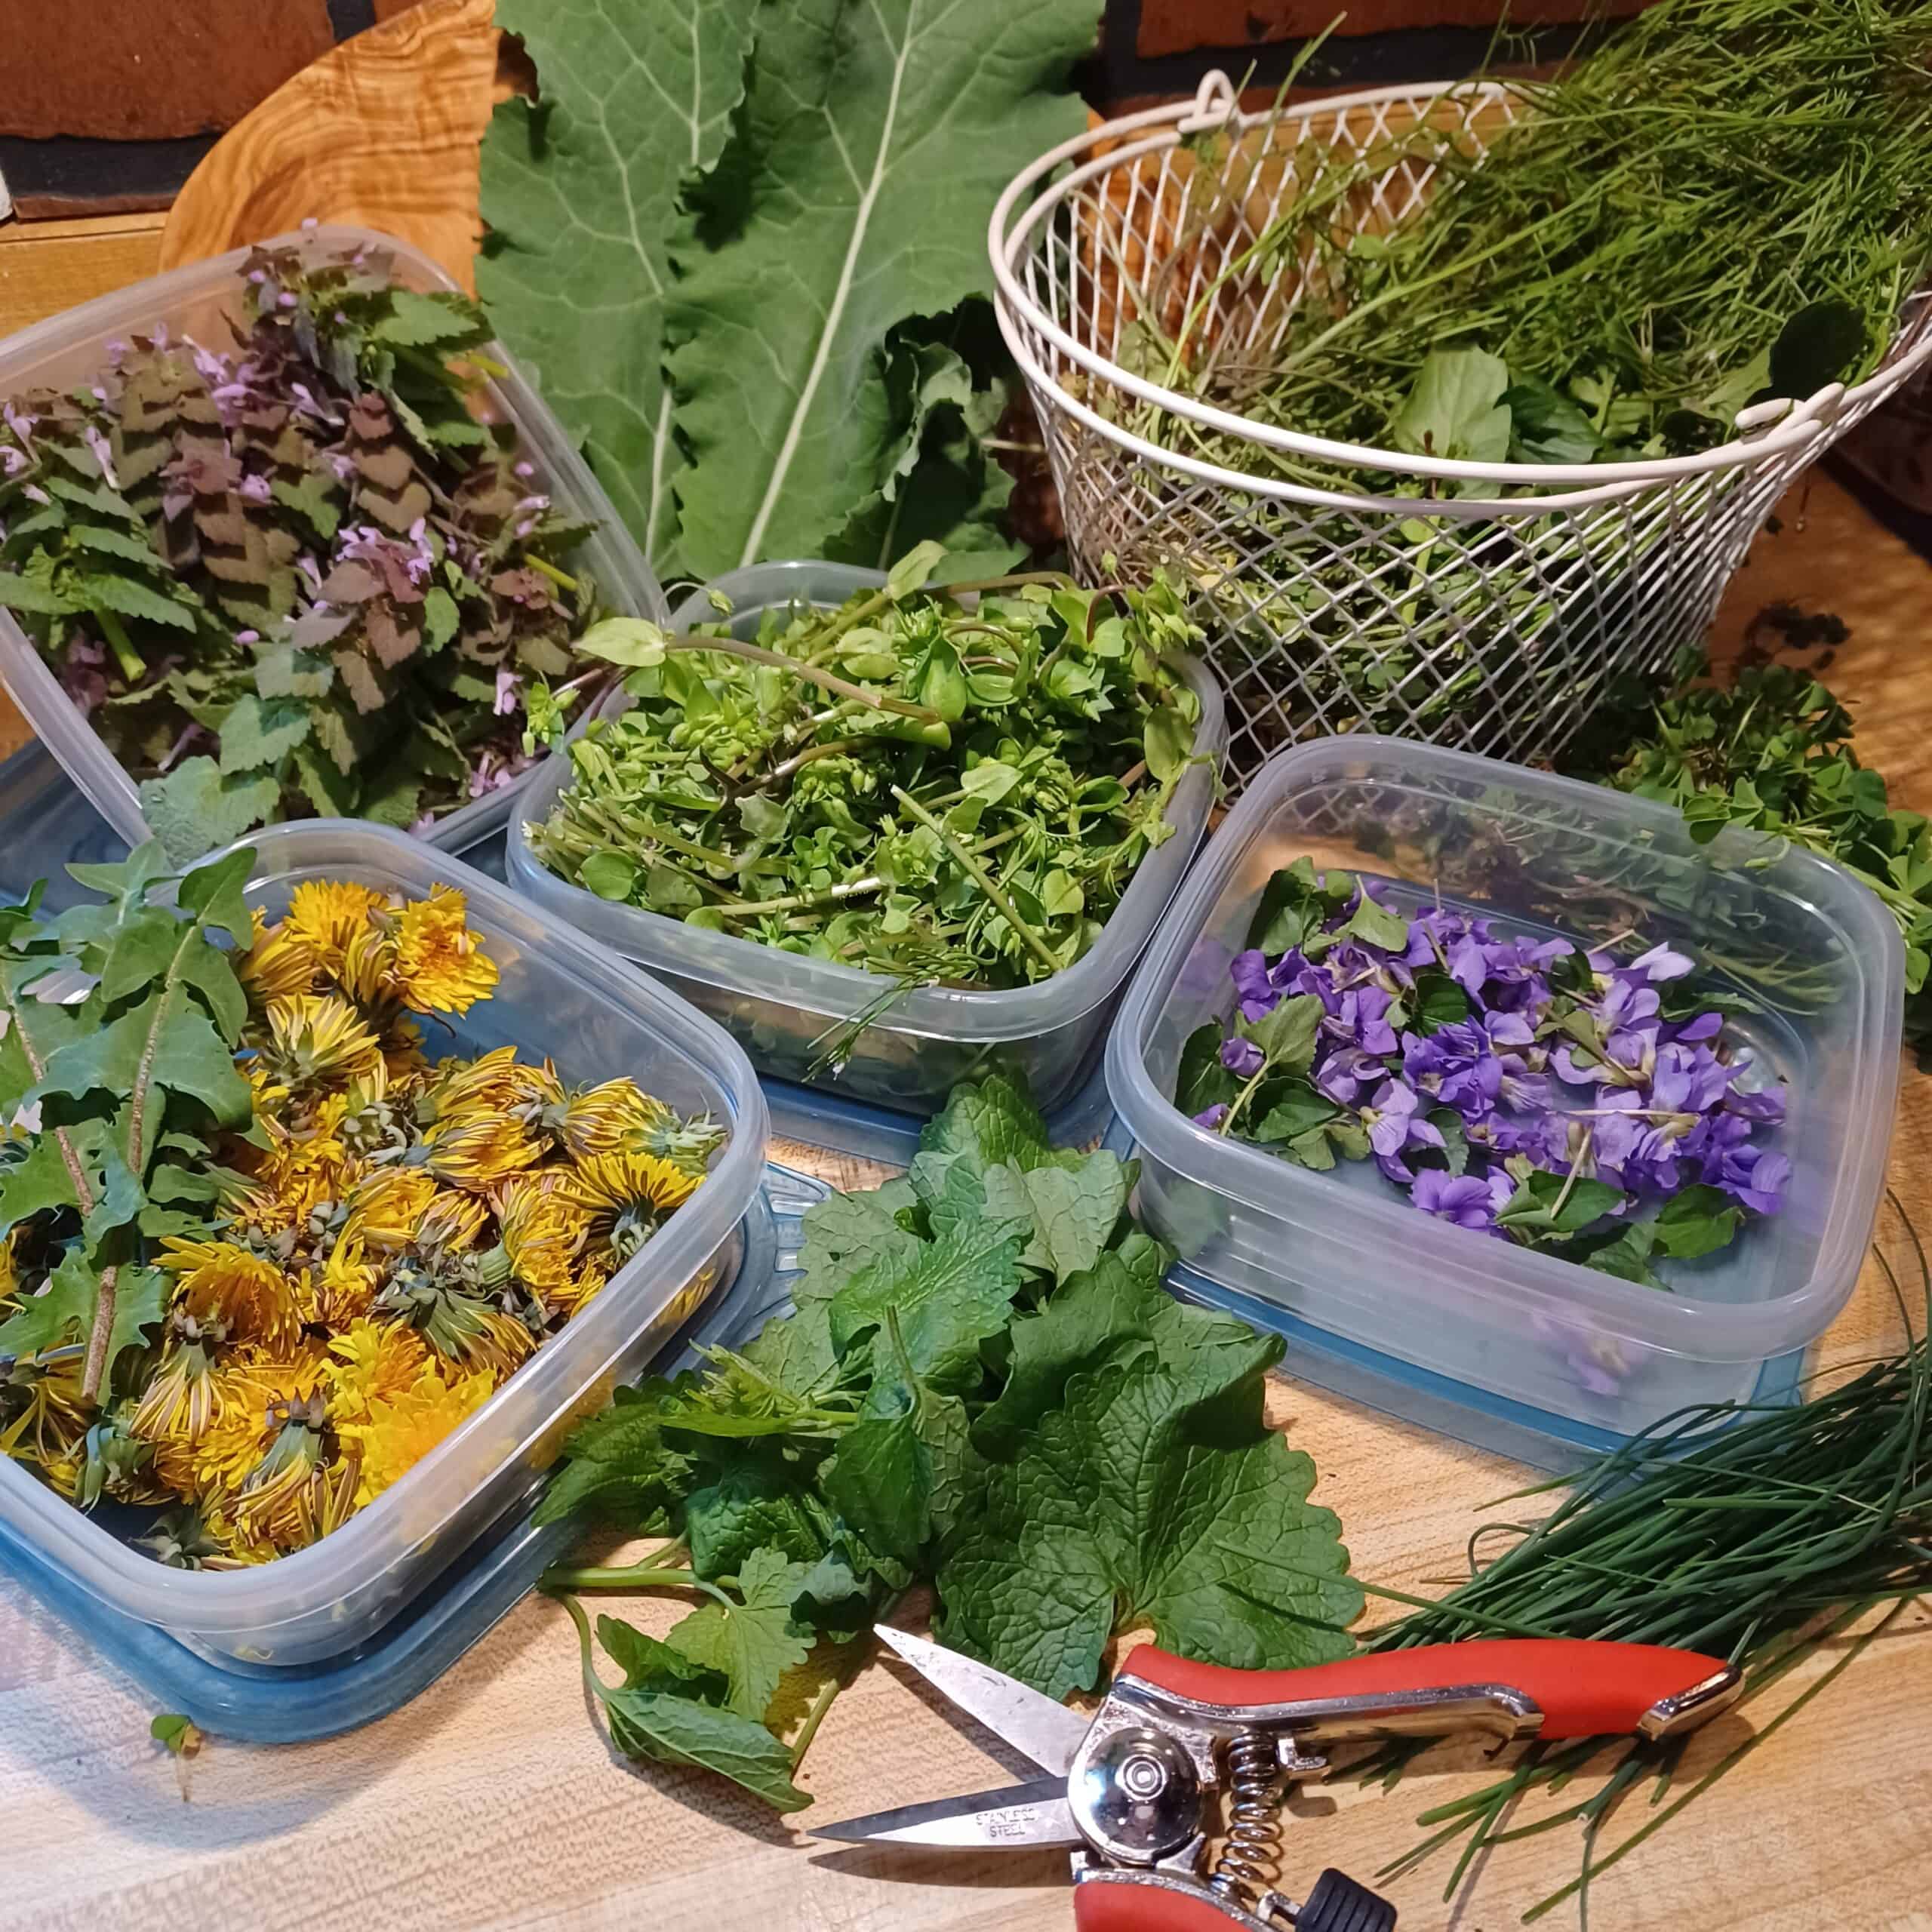
Start by thinking about what modern medicines you’re unhappy using, or about ailments from which you commonly suffer that you’d like to treat differently.
In other words, perhaps you suffer from stomachaches and are tired of Tums. Or maybe you feel like Tylenol is causing more harm than good for your chronic headaches, and would like a plant-based alternative. I was receiving lots of bruises and abrasions from dance class, and never found a conventional treatment that worked well….so I made my own with great success!
Once you’ve learned about a few herbs that might be up your alley, and have gotten outside to see what’s nearby, you can make a short list of what you want to bring home.
NOTE: Get familiar with best practices for sustainable foraging – especially in public places like parks and forests. Some locations do not allow folks to remove species from their homes. More on this in future posts!
CAUTION: Even in your backyard, you’ll not want to collect plants from areas treated with chemical pesticides or fertilizers, or right next to roadways. Also, be cautious of areas frequented by dogs. All the more reason to leave your yard totally natural, right?!
Popular plants to seek out (or plant!)
From the Yard: Dandelion, Plantain, Hairy Bittercress, Red clover, Chickweed, Garlic Mustard, Sheep Sorrel, Wood Sorrel, Onion Grass, Chicory Root, Virginia Pepperweed
From the Flower & Herb Garden: Echinacea, Chamomile, Calendula, Lavender, Yarrow, California Poppy, Mint, Rosemary, Sage, Feverfew, Marshmallow, Rose Petals & Rosehips
From the Wild, Woods & Parks: Mullein, Stinging Nettles, Mugwort, Raspberries & Leaves, Blackberries, Elderberries and Flowers, Black Walnuts, Horse Chestnuts, Sweet fern, Sprice Tips, White Pine Needles
4.) Collect some Containers
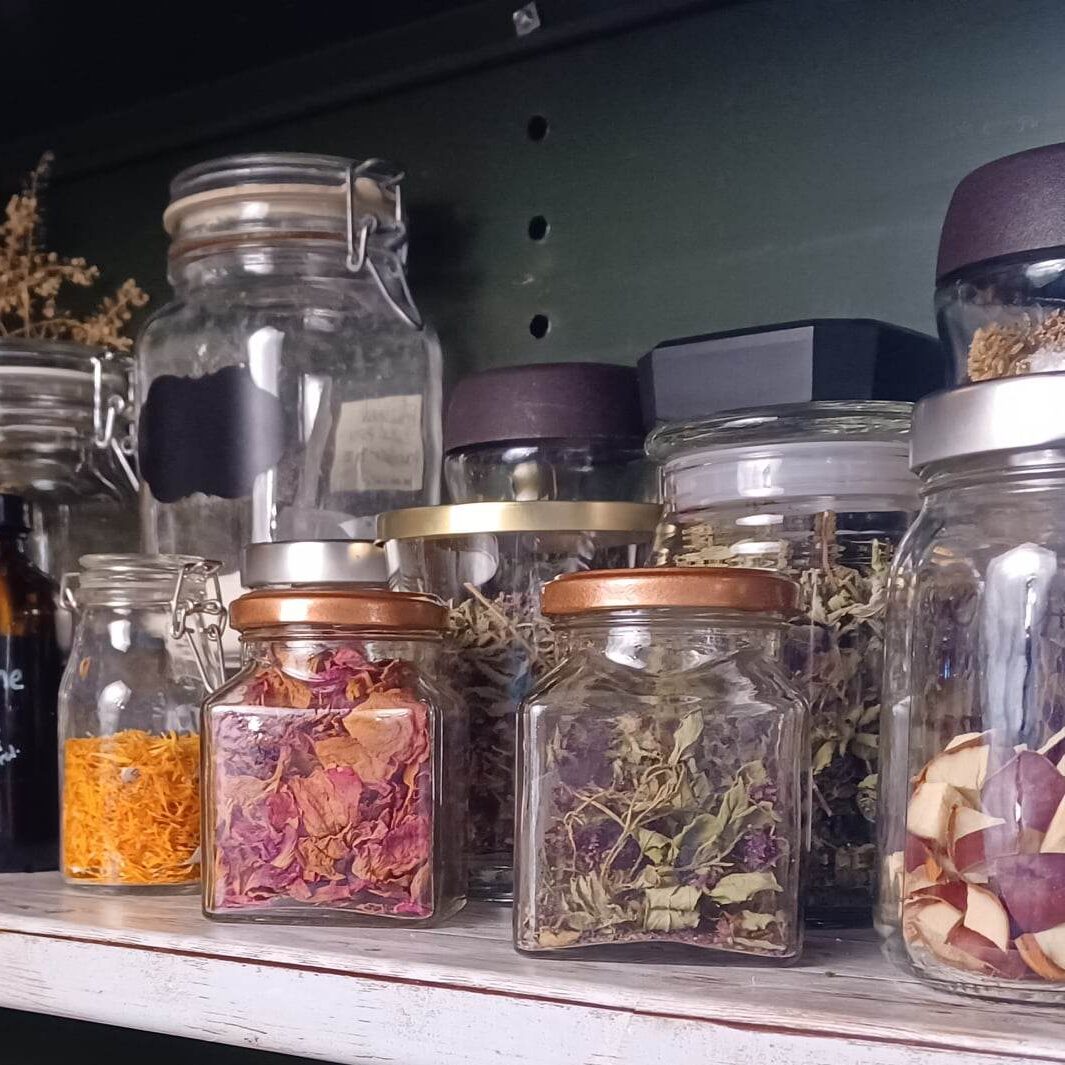
In another article, I’ll discuss the simple steps you’ll take to properly collect, clean, and dry your DESIRED plants. But for now, we’ll skip to the next step of storing them! Do this first, so that you don’t end up with a hoard of dried herbs and no way to protect them!
You will need a small variety of containers for your glorious collection. But you do NOT have to spend any extra money on them! (I’ll tell you why in a moment.)
Aim for GLASS
Plastic can both absorb smells and leach unwanted stuff out into your herbs. Glass is more hygienic and will perform better. Look for wide-mouth jars as they’ll be easier to clean, fill, and dispense from. You’ll also do best with bottles or jars that have screw-on, or otherwise tight-fitting lids.
If you look around your kitchen, you’ll find plenty of good candidates in the form of empty jars of tomato sauce, pickles, instant coffee, olives, jelly (even those single-serve sizes) and more! Spent candle jars also work great, although they can be a little trickier to clean. Remember, you purchased those products already to enjoy what came in them. Now that they’re empty, those jars are fair game and “free!”
Be sure to collect a variety of sizes as well since some herbs are bulky, while others are fine or compact, using only a few ounces of volume. Again, start with containers you already have in your home or recycling bin.
Buy consumable products strategically
The next time you hit the grocery store, you might find yourself looking at the tomato sauce selection very differently! Some brands (including very affordable Classico) feature intentionally reusable mason-style jars. Why is this important? Because the threads of the mouth can receive replaceable canning lids! These are very affordable, easily obtained, ensure a perfect seal, and eliminate the risk of contamination from the old sauce lid. This jar system is perfect for use in canning pickles or jams, but also serves your dried herbs perfectly well.
Also, experiment to see which products have labels that remove easily. Look for jars with paper labels that only use a tiny dab or strip of glue for adherence, rather than the full-on sticker type. (More to come on jar selection and cleaning in future articles!)
Treat yourself to thrift shop treasures
If you come upon a beautiful specimen and the thrift shop or on clearance at Hobby lobby, feel free to indulge! Some of my favorite apothecary jars were scored for under a dollar. In fact, you may want to seek out a few darkly-colored glass jars (blue, green, or brown) that will help protect some delicate herbs from sunlight damage. However, my point is that you do not need to spend a fortune on special jars for the humble project of building a home apothecary.
Trays and baskets will be helpful too!
While at the thrift shop, or Dollar Tree, keep your eyes peeled for other helpful “tools” like inexpensive trays and baskets. When collecting, cleaning, sorting and drying your herbs, having some fine mesh baskets and trays will prove extremely handy and effective.
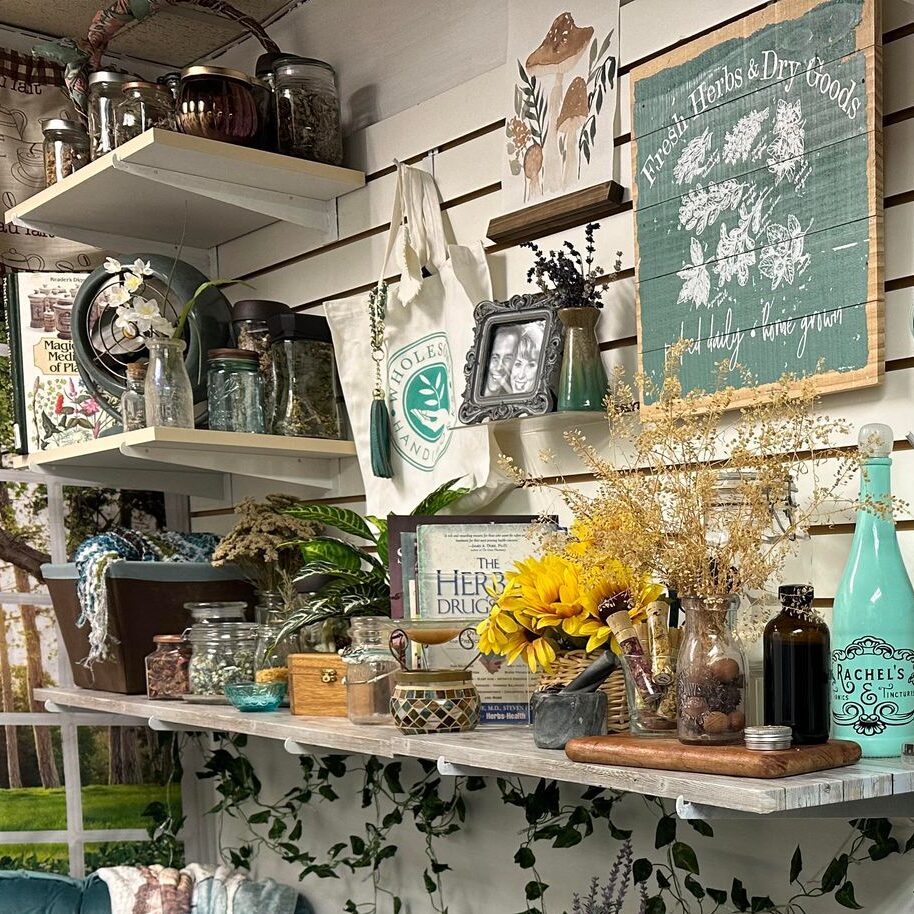
5.) Dedicate a SPACE for your collection
In a similar approach to your containers, please do not go crazy spending on a PLACE to corral your collection! If you’re creative, you’ll easily find a shelf, hutch, cupboard, or chest already in your home that you could repurpose. But here are some considerations ot make for the sake of safety, efficacy, and practicality.
Aim High
If you have youngsters, pets, or others who could get into your apothecary, please seek a spot that is high off the ground and out of reach. You don’t want your young child consuming your herbs, the cat to knock breakable glass jars off the shelf, or a clumsy husband to back into your bottles.
Let there be NO Light
Ultraviolet light can easily damage the precious components of your herbs, if they are exposed to sunlight. Especially considering most of our recycled food jars are clear glass, there will be no inherent UV protection. To keep your herbs the most potent and well-preserved, seek a closed cabinet to lock out the light. Or, if you must (or want to ) have your beautiful collection visible on an open shelf, make sure it’s in a darker room or area out of direct sunlight. You can also buy/collect dark-colored jars and bottles that will block light – or paint the outsides of your jars to add protection.
Get Crafty
If you’re in a tiny apartment, or only have a room or van to call home, try thrifting or crafting yourself a small chest (or repurposed suitcase) for your apothecary. Healers back in the day would carry a small chest with their herbal remedies, why not you? Not only will this keep your collection concise, but it will also protect the herbs from light and tampering.
Do good with what you’ve already been given.
– Rachel Decker
Sounds easy enough – Why not get started today?
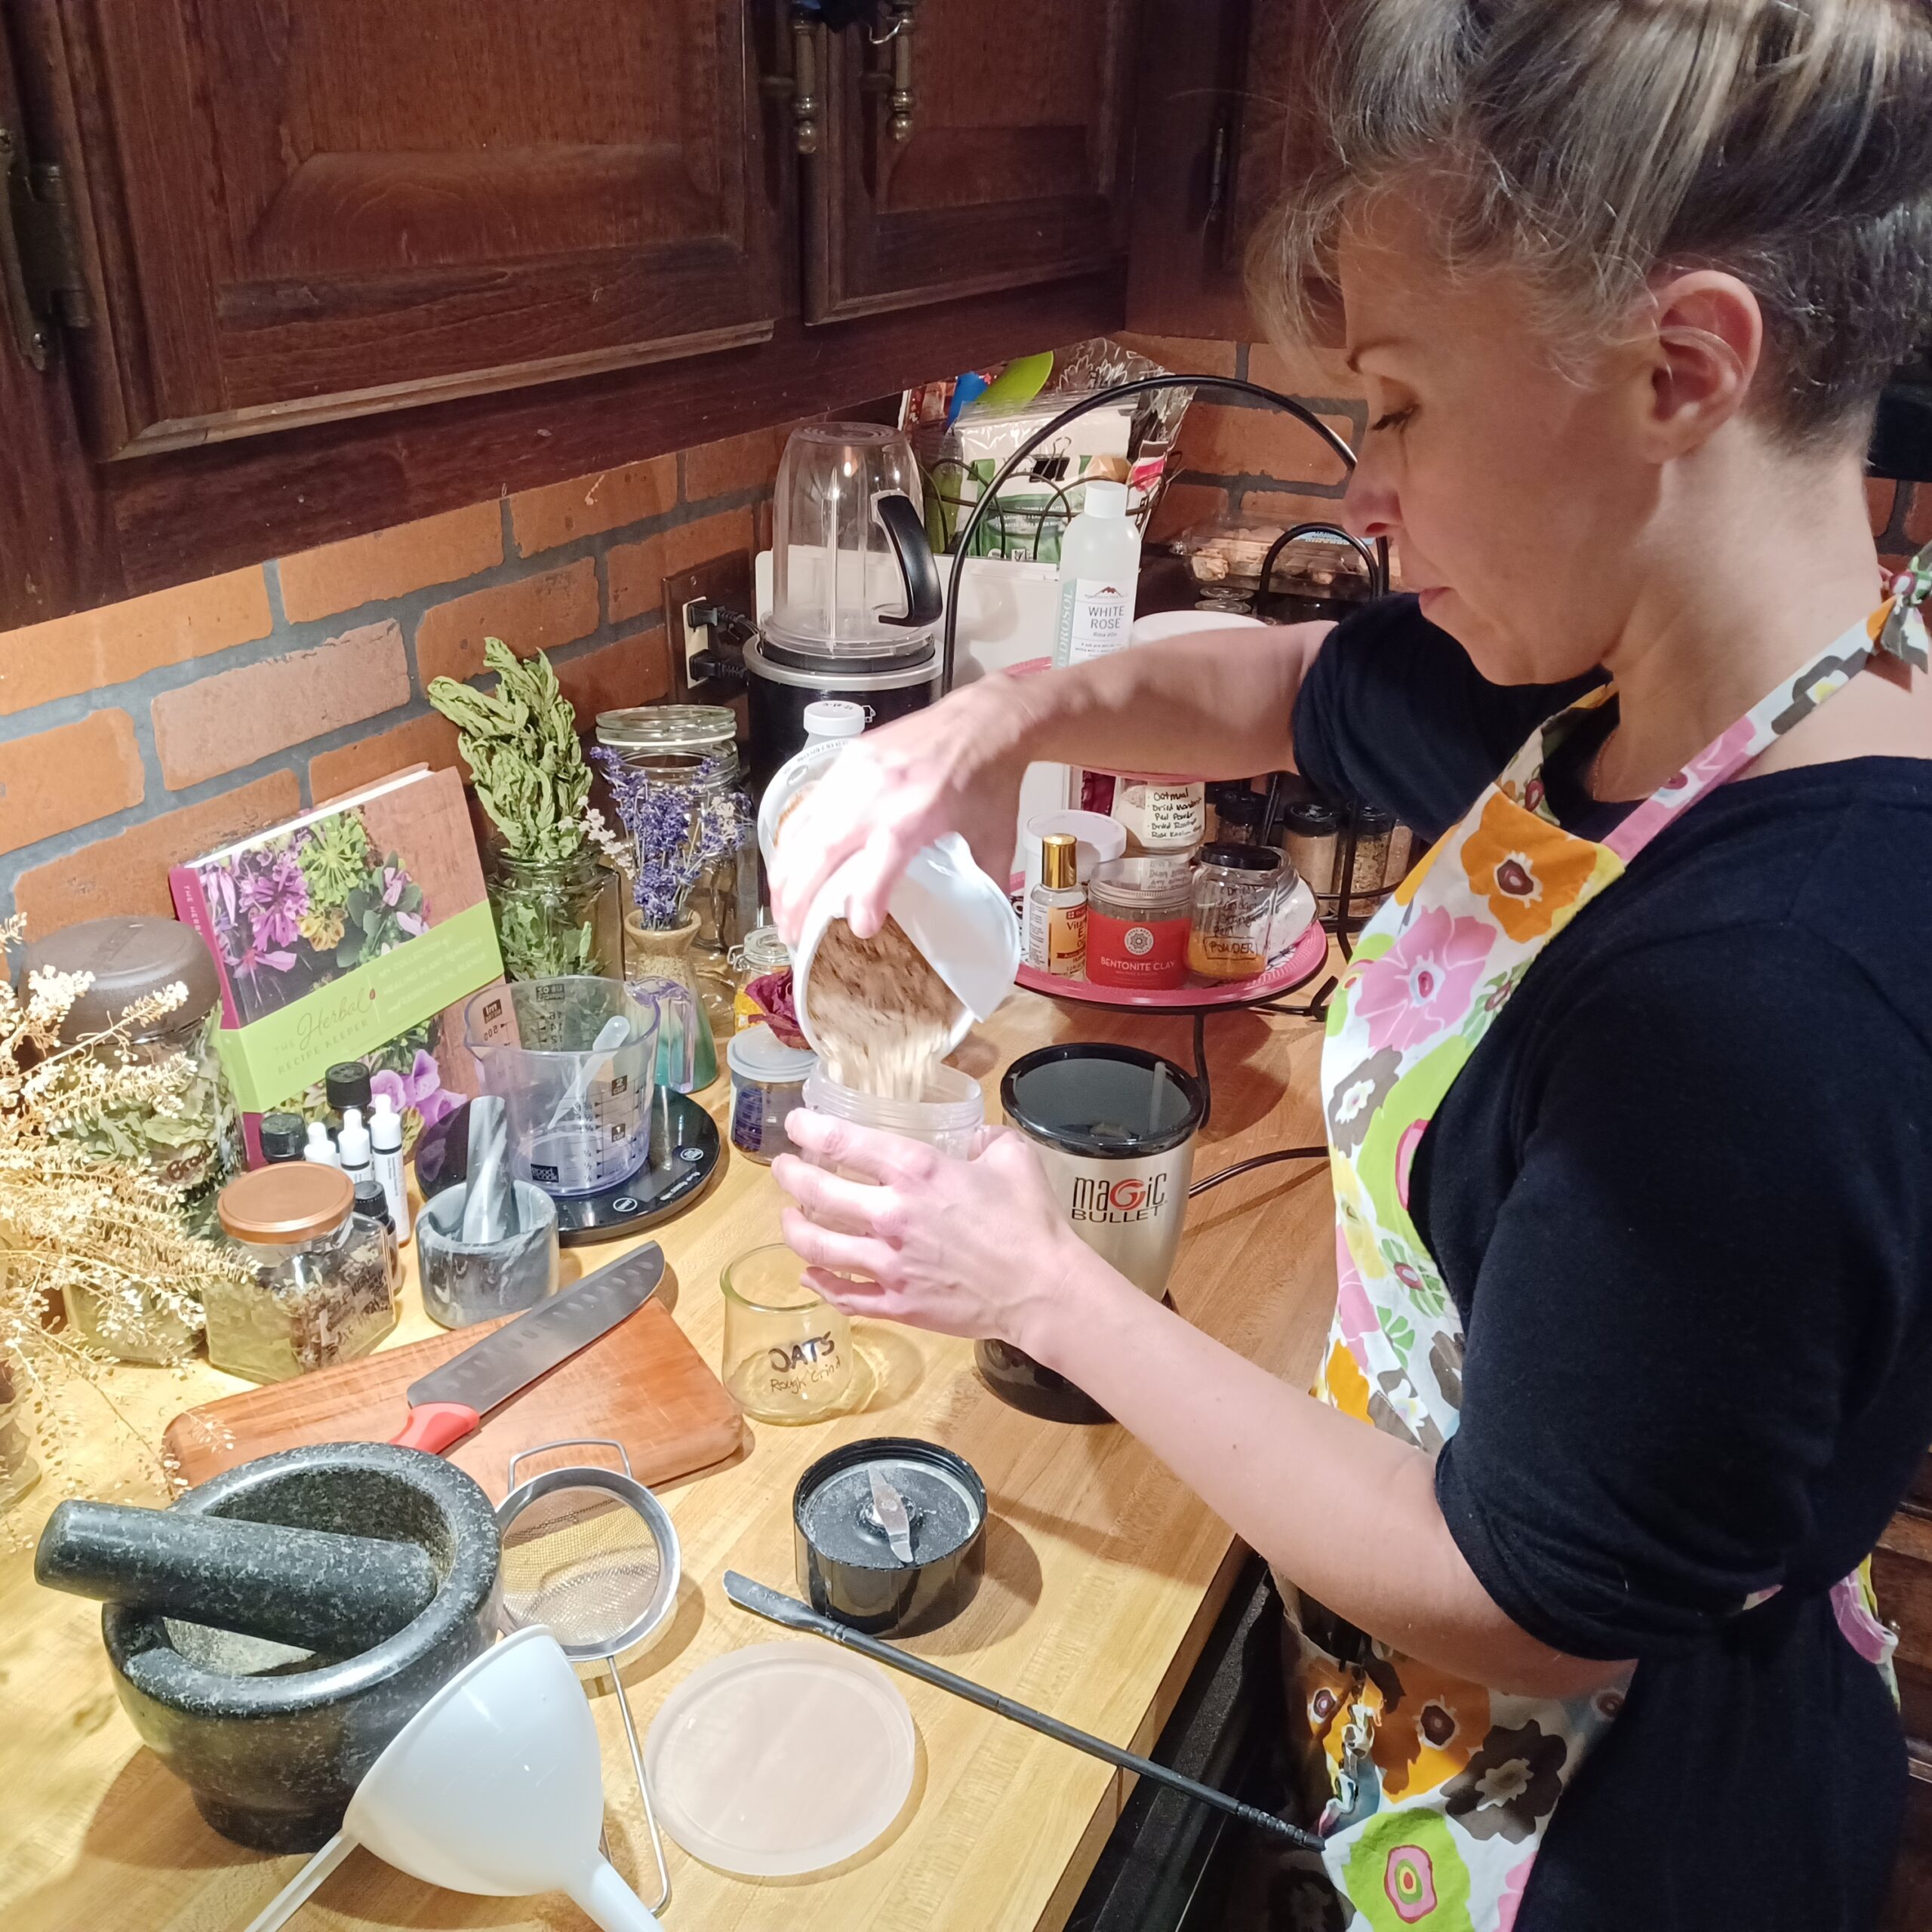
Start taking the time to LOOK at the beautiful natural gifts God placed right under your feet. If nothing else, just learning about and noticing the amazing plants all around you (whether the in countryside or city sidewalk) is a joy in itself! And once you learn what these plants can DO for you, you’ll definitely want to take some home and use them!
Whether they’re sustainably foraged, collected from your untreated lawn, or purposefully grown in your garden or windowsill, the process of drying, and storing medicinal herbs in a home apothecary is incredibly fun and rewarding.
Before you know it, you’ll be whipping up a salve to soothe your son’s scraped knee, a plantain poultice for your daughter’s sunburn, or sipping a mug of peppermint tea for your agitated tummy.
I hope you’ve enjoyed my 5 EASY STEPS for creating your own Home APOTHECARY! I promise….it’s EASY, CHEAP, incredibly FUN and fulfilling! Go outside and GET STARTED now! If you have any questions or comments, I do hope you’ll write!

Have questions? Suggestions? A Testimony?
I’d love to hear from you and lend a hand!
Please complete the questionnaire on our contact page…Help us grow and add value to your experience on Wholesome Handiworks!


